How do you take high-quality photos of your, or another businesses’, products or services? It’s more than an expensive camera. In this article, I will cover the equipment, materials, content and planning that goes into planning a photoshoot that results in the perfect photos.
Cameras for Photoshoots
As we have discussed before, camera equipment varies dramatically from price to purpose. You could easily spend thousands of dollars on the wrong product and end up with a tool you can’t use properly. If you need some suggestions on which camera is right for you, check out this list from Tech Radar. I personally recommend using the Canon EOS Rebel T7i. I use this camera for photoshoots and taking video, and it has served me incredibly well.
That being said, many modern smartphones are perfectly acceptable as an alternative. Most have high-quality cameras and are more than capable of taking the photos you need, especially for those that are unfamiliar with more sophisticated equipment.
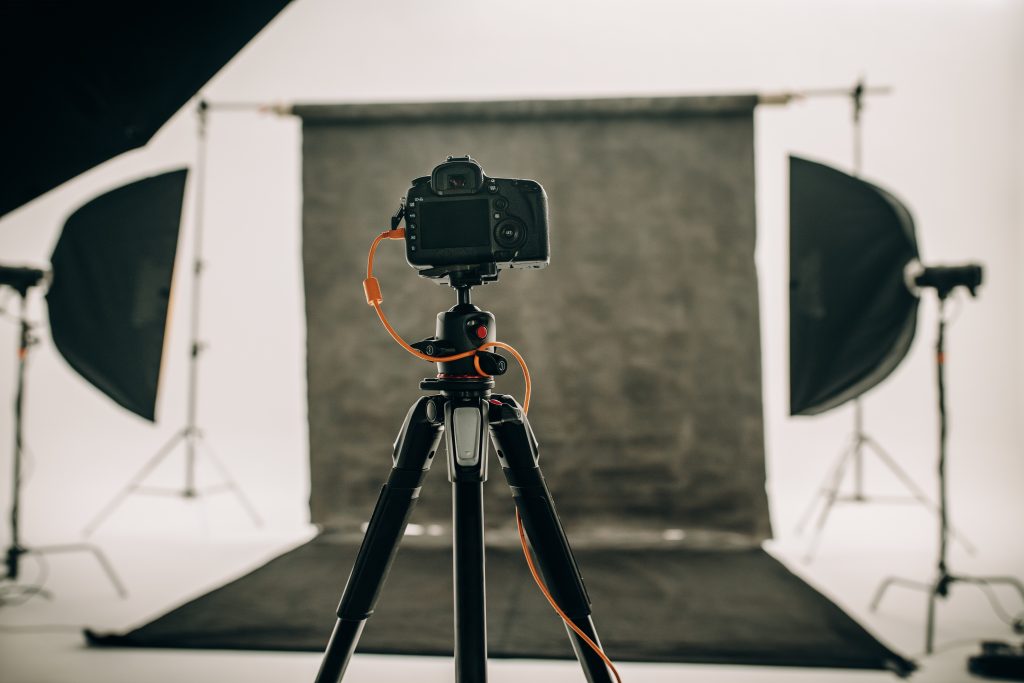
Tripod
Regardless of whether you choose a DSLR camera or the camera on your phone, you need a tripod. Tripods allow you to set up shots with consistency and mean you don’t have to worry about taking a shaky photo. As HubSpot states in their article, “Don’t prop your phone against something sturdy to aim your lens toward the subject. It’s just too easy for this makeshift setup to slide around during the shoot and cause inconsistencies in your photos’ appearance.” Instead, invest in a small tripod, which are relatively cheap and easy to use in any photoshoot scenario.
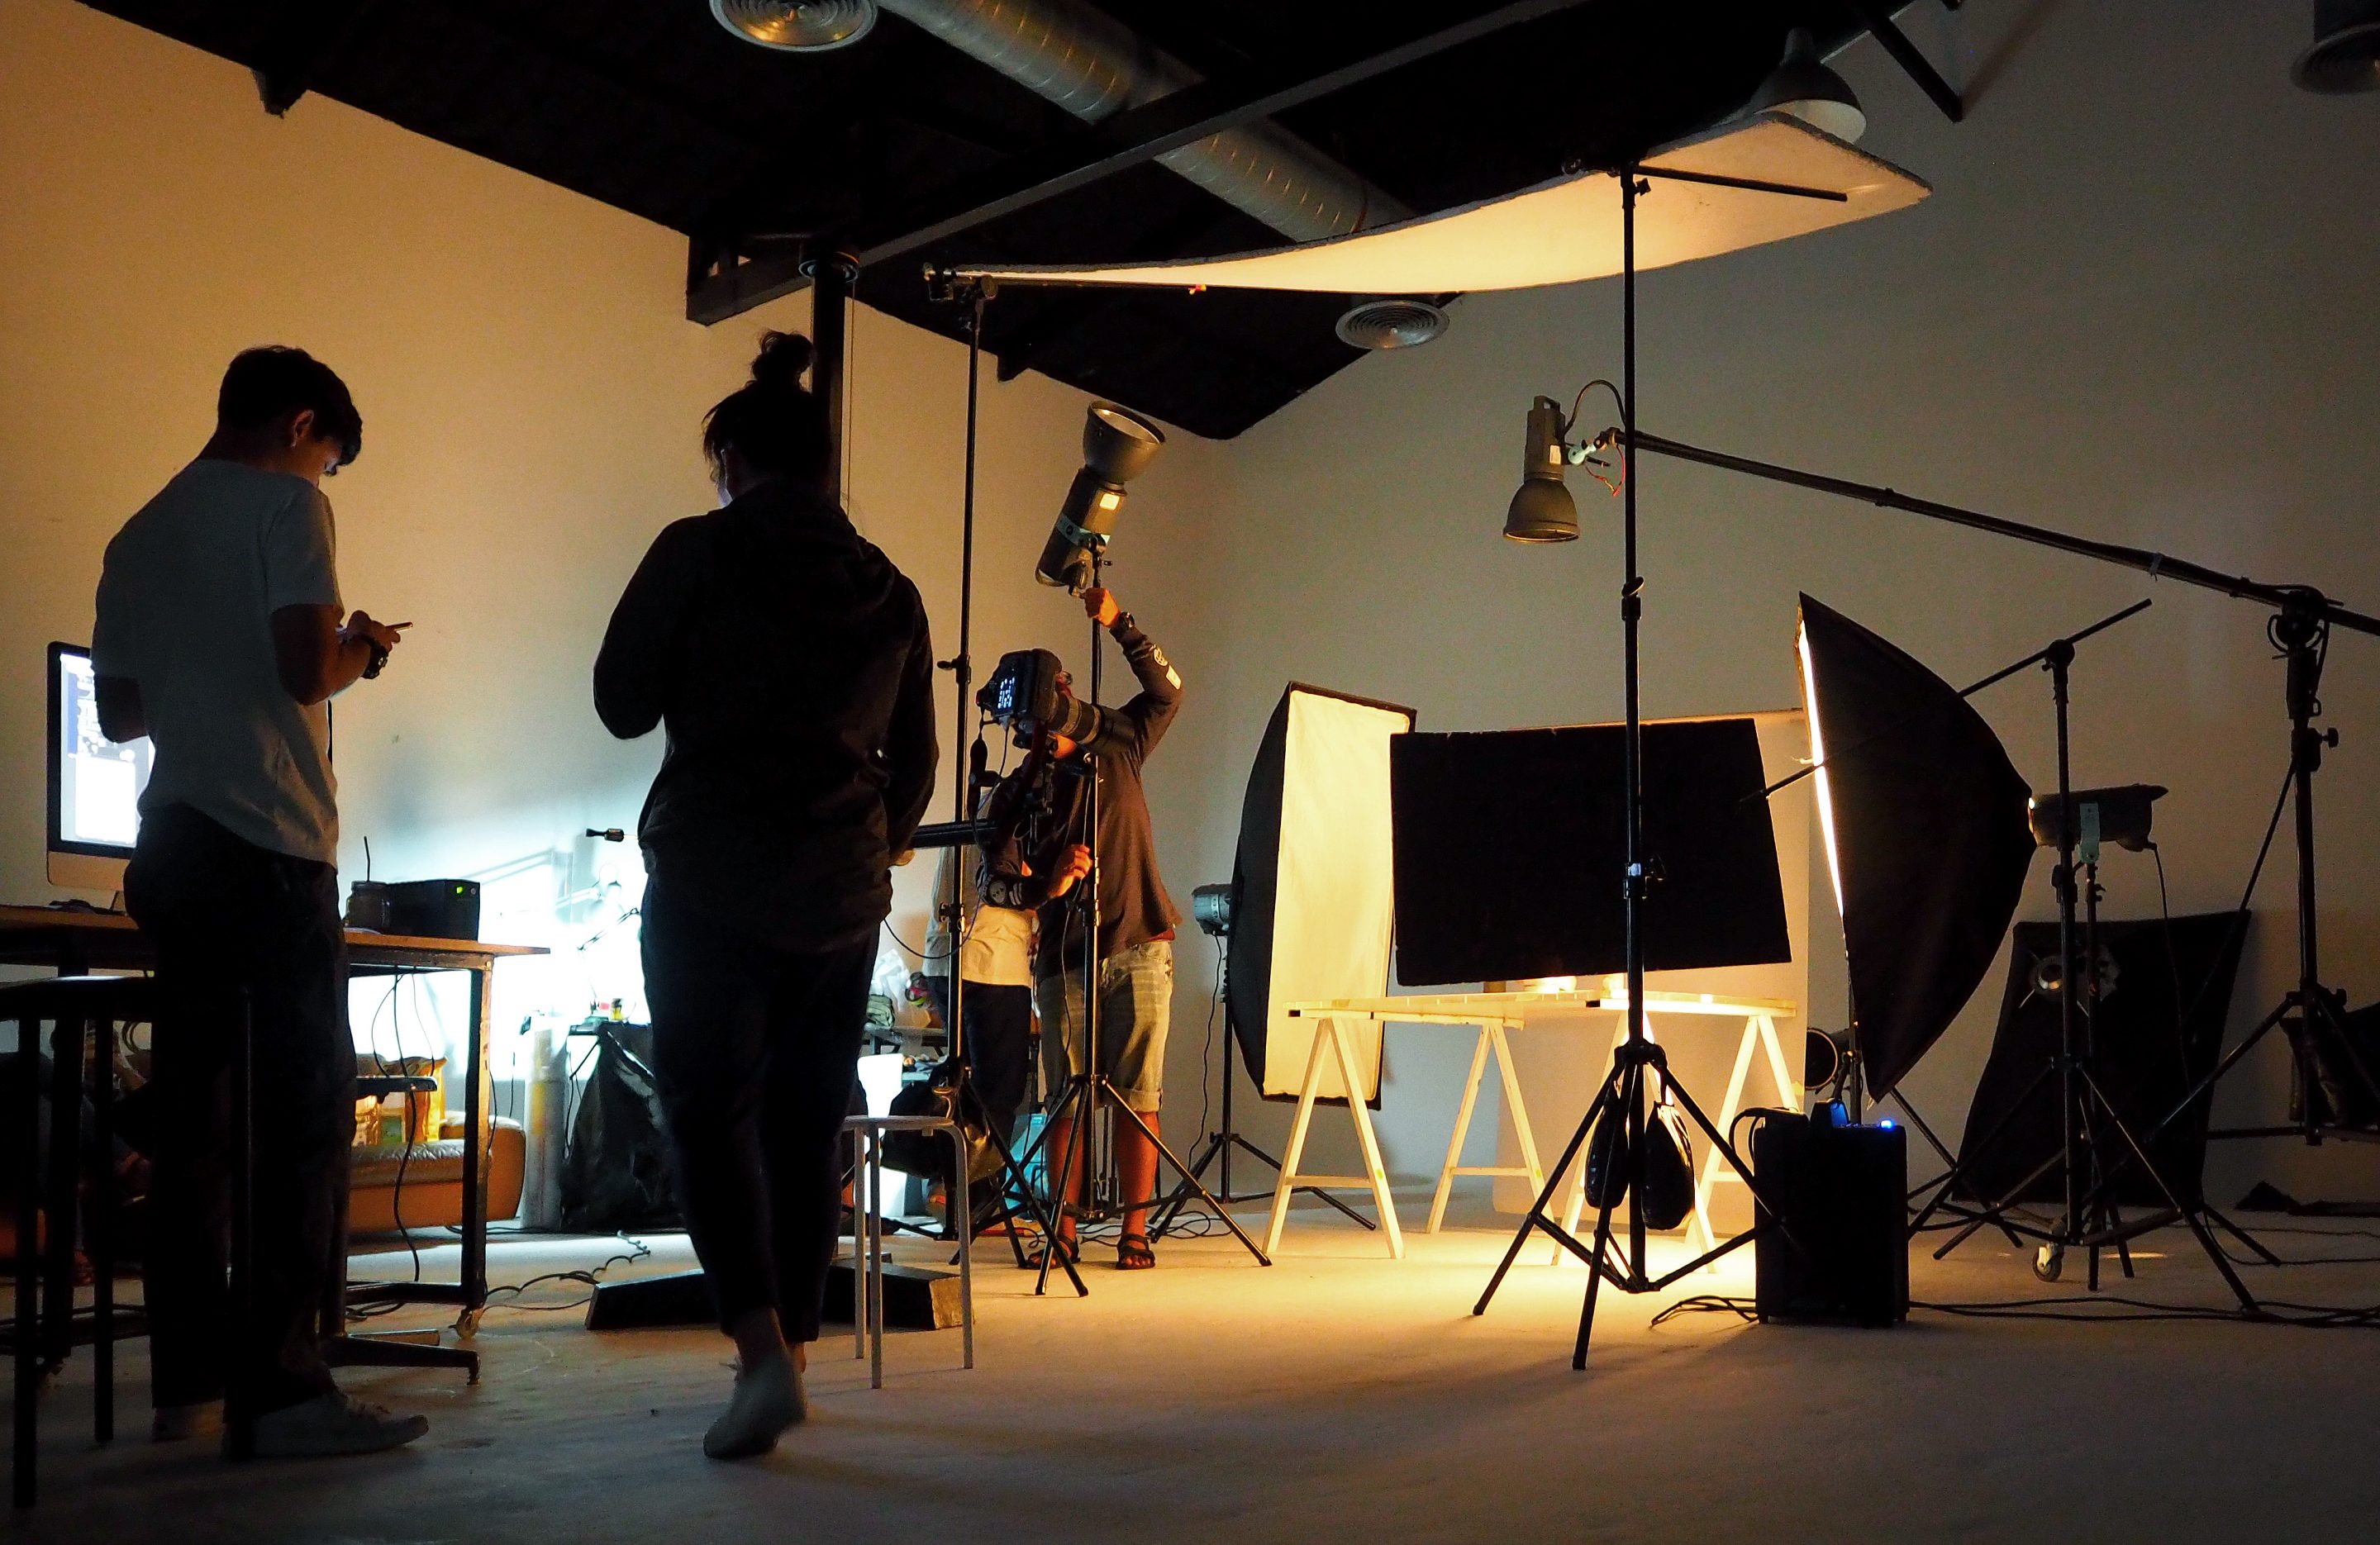
Lighting Options for A Photoshoot
Natural Light Cons
To me, lighting is the most important aspect of any shoot. You can either decide to use natural light or artificial light. While it may seem more appealing to shoot in natural light, you are also leaving yourself vulnerable to the elements. The Digital Photography School agrees. In their words,
“While natural lighting is abundant and easy to incorporate into photography, it can be challenging for the simple fact that sunlight varies greatly. Depending on location, season, weather, and time of the day, natural lighting can produce differing colors and contrast in your images. For example, midday sun tends to produce neutral white colors and extremely high contrast, while golden hours of sunrise and sunset have very warm colors and medium contrast. Thus, the look you’re going for will determine the time and location of your photoshoot, unless you harness additional tools such as reflectors, diffusers, and lens filters.”
Natural Light Pros
Natural light makes the products look, well natural, but getting the right shot will depend more on luck than skill. However, there are benefits to using natural lighting. When you use natural lighting, you have a lot less equipment to lug around. This makes tearing down and packing up easier. If you decide to shoot using natural light it will also cost you a lot less, since you won’t have to invest in a lighting kit.
Cons of Artificial Light
As someone who has had several photoshoots ruined by poor weather, I prefer using artificial light. However, that’s not to say that’s it’s a perfect solution.
There’s a lot of gear associated with artificial lighting. I recommend using a lighting kit that has three sources of lighting, that way you can more easily manipulate shadows and where the light comes from. This will include a bevy of instruments that you will need to use.
Pros of Artificial Light
Artificial light gives you complete control over how your shoot looks. While using natural light is cheaper, there is almost no control. Using artificial lighting you can set up set in different ways and get the most bang for your buck.
Photoshoot Location
In addition to your equipment and lighting, figuring out where you are going to be shooting is equally important. Will it be in a studio where everything is under your control, the outdoors or at a specific location? This will largely decide how your shoot goes. If you are in a studio, you’ll need to plan accordingly and maximize your time. Unless you have your own space for a studio, you will probably need to rent a space for a period of time. If you don’t plan well, you may end up needing more time and this will end up costing you a lot more money.
If you are shooting outside, check the weather in advance of the photoshoot. As stated before, weather can ruin a shoot on short notice. Bring plenty of supplies and consider if you will have access to power if you need it. Shooting outside will give your pictures a lovely natural feeling to them, but there may be some variables you can’t plan for.
If you plan to shoot on location, make sure you and your team have open communication with the business you are doing the shoot for. Many times, you will be doing a photoshoot for a business when they are in normal operating hours which means there will be customers and workers around. When you get to the location, find a spot in the back room, or in a corner, where you can place all your equipment and start setting up for the shoot. If you plan on getting action shots of customers or of the staff working, make sure you get their permission first.
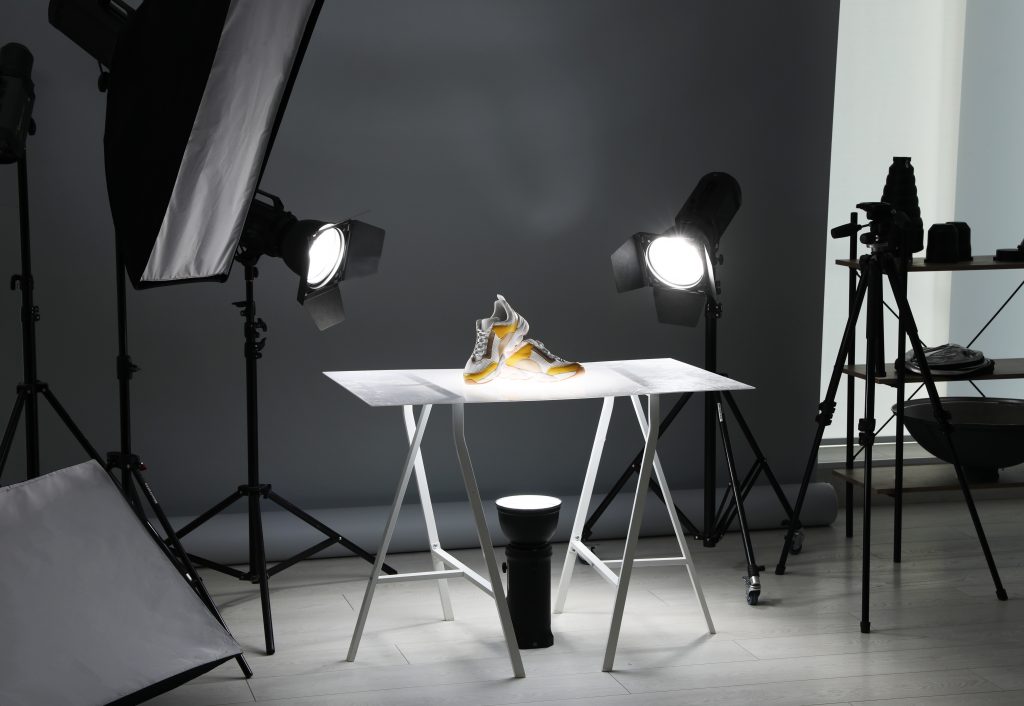
Using A Background

If you are doing a product photoshoot, where you will be focusing on either your, or a another company’s, products, you may want to invest in various backgrounds to use. You can use pretty much any color you want, but I would suggest either black, white or a green screen background. Black and white backgrounds will help focus attention on the product, while a green screen allows you to change the background when editing the photos after the shoot.
Another important thing to know when using a background is how to make use of a “sweep.” According to HubSpot, “A sweep is a large bendable sheet of paper, whose bottom acts as the surface beneath your product and then curves up into the same color wall behind the product. On camera, the sweep’s curve is invisible, emphasizing key product details and allowing the item to own all of a website visitor’s attention.
Reflector Card
A reflector card is simply a white card that helps bounce light around your photoshoot. Shopify offers this helpful tip regarding reflector cards during photoshoots: “This simple white card is the single most important light modifier we have in our studio and I use it for every shoot. The light will bounce off the card and fill in all the shadows. How you position this card is a matter of taste, so try it at different angles to the product.”
Take More Photos Then You Think You Need
If you think you need 100 photos, take 200. You never know how one photo is going to turn out. Taking plenty of photos allows you to choose from the best when you are done. HubSpot also shares this opinion saying,
“My last ecommerce photography tip to you is to not stop at one photo per product. Just as your customers look, hold, use, and even try on merchandise in a store, your website should shoot a variety of images to simulate this very experience.
If you’re shooting clothing, for instance, capture the garment of clothing alone — that is, spread out on a white surface — as well as on a mannequin whose color contrasts the color of the product. Then, for additional photos, have the clothing modeled on a person, allowing you to take pictures of the product from the person’s different poses and angles.”
Touch It Up
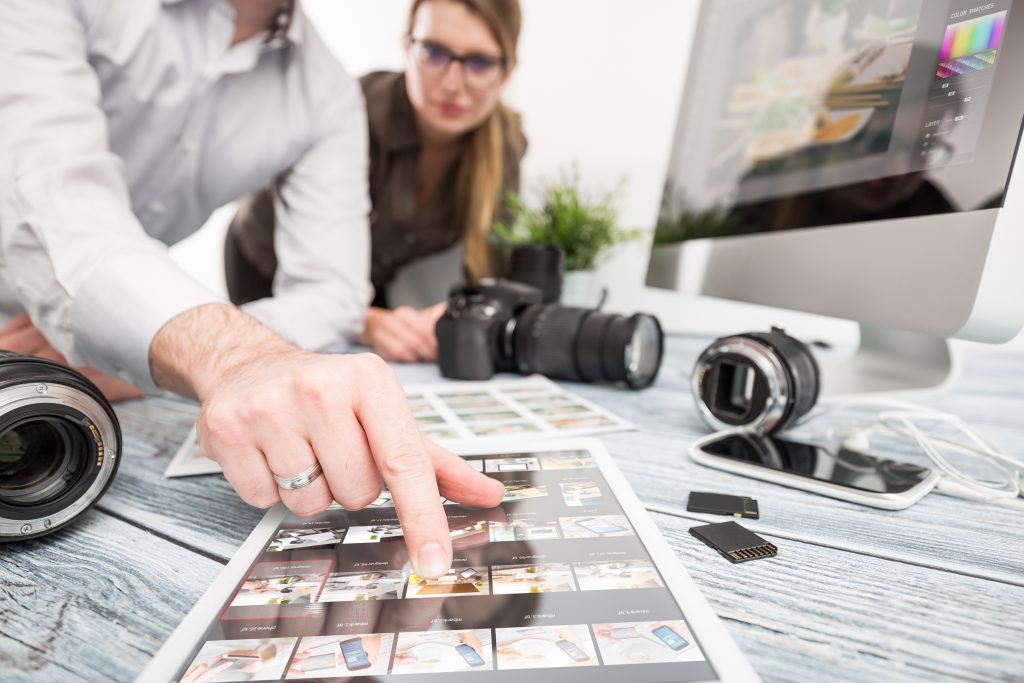
Your job is not done when you finish the photoshoot. When you are back in your office, upload your photos and back them up. Losing all the photos from the photoshoot from a glitch or accidental deletion is more of a headache then any photographer wants to imagine. After you’re done uploading and saving a backup, it’s time to go through all the images and select the best ones. Use a critical eye and looks for things like shadows, people in the background, blemishes on products and other issues with any image. Once you select all the photos you want to use, touch them up using Adobe Photoshop, or another photo editing software. If you do not have experience using these types of products, you should consider outsourcing.
Posting Images On Social Media
Once you are done touching up your photos, you are ready to post them on websites and social media pages alike! Just make sure you grab the correct dimensions for each social media platform so the image looks the best it possibly can.
Contact Us!
Conducting photoshoots can be a rewarding experience. They can be great for your business and can put your brand on the map in a unique way. If you want to set up a photoshoot with us or have questions about marketing, PR or social media, contact us at Three Girls Media for a complimentary consultation. We have a full staff of seasoned marketing professionals who are eager to help you reach your marketing goals.
Special Offer:
Sign up for a complimentary consultation during December and receive an Annual Marketing Planning Guide valued at $475! We offer a 30-minute phone consultation with our CEO, and can answer your questions and discuss your specific marketing needs - no strings attached. Call 408-218-2391 or contact us today to arrange your consultation!